
So one of the first stumbling blocks you’ll run into is how do you diagnose and debug code on the Arduino when you’re using the only serial port for the GPS ?
The ATMega328P based Arduinos like the Uno and the Duemilanove only have one hardware UART or serial port. This is a dedicated piece of hardware on the chip to do the nitty gritty of serial communications timing and the like. You can emulate this in software but it does use considerably more memory up also it can cause timing issues with other parts of your code as it uses interrupts.
It is advised you should use the hardware UART for the GPS on any tracker to avoid timing, communication issues etc. However there is nothing stopping you using Software Serial for GPS debugging purposes (just be aware it could mess with timing on stuff like radio transmission).
So you need some method of observing the serial data back on your PC, the easy way is to add a USB to Serial module such as the UM232R by FTDI or the Sparkfun/Adafruit ones such as this https://www.sparkfun.com/products/12731. I’ll refer to whatever you’re using as “UM232R”.
So wiring it up as follows (Wiring from previous example still in place) :

Arduino GND to UM232R GND (Grey wire in image above)
Arduino 3 to UM232R DB1/RXD (Blue Wire)
Arduino 4 to UM232R DB0/TXD (Purple Wire)
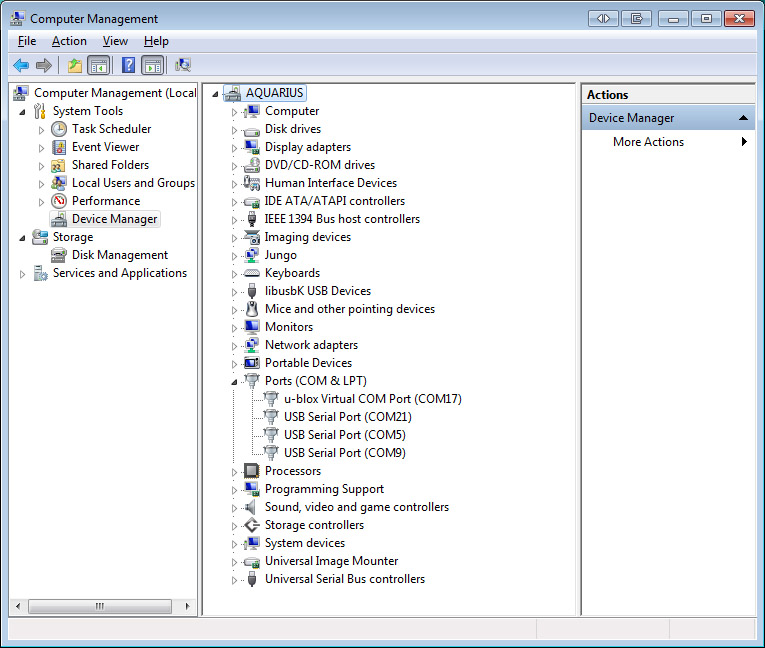
Plug in the Arduino and note the serial port it appears as in your computer. Now plug in the UM232R and check in Device Manager what COM port its allocated (In my case COM21)
 Nextly you’ll need some sort of terminal program so you can see the data on this COM port. I strongly suggest you grab a copy of the excellent PuTTY from here: http://the.earth.li/~sgtatham/putty/latest/x86/putty.exe
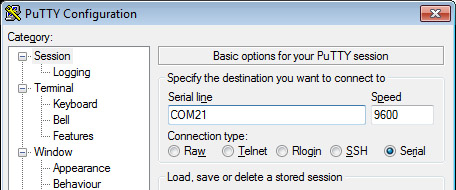
Open it and check Serial, enter the COM port as ascertained above and click Open
You’ll get a black screen doing nothing. This is expected.
Ok now load the following code up on your Arduino :
#include <SoftwareSerial.h>

SoftwareSerial mySerial(4, 3); // RX, TX

void setup()
{
 mySerial.begin(9600);
 mySerial.println("Hello, world?");
}

void loop()
{
}
Ok once done press reset on your Arduino and you should see :
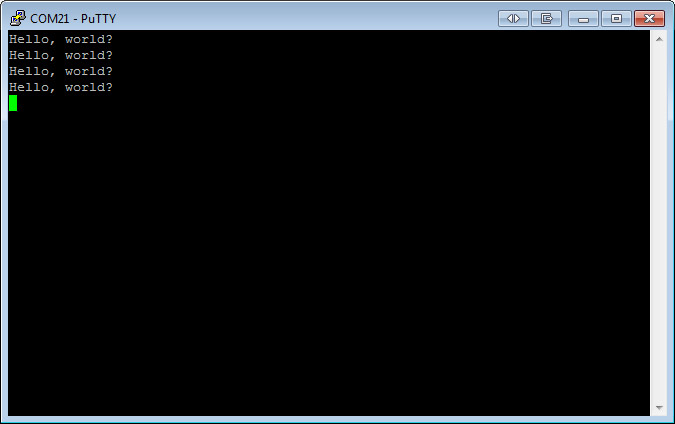 Indicating everything is wired correctly and working.
Ok now amend the slightly as follows (assumes you’re still wired up as previous posts)
#include <SoftwareSerial.h>
#define GPSENABLE 2
SoftwareSerial mySerial(4, 3); // RX, TX

void setup()
{
pinMode(GPSENABLE, OUTPUT);
digitalWrite(GPSENABLE, HIGH);
Serial.begin(9600);
mySerial.begin(9600);
mySerial.println("Hello, world?");
}

void loop()
{
if (Serial.available())
mySerial.write(Serial.read());
}
Now you should see Hello, World? followed by the NMEA from the GPS module. Basically the code is reading from the hardware serial port and then echoing this back to your software serial port. From this point you can start to do your own code and output information to the software serial port to help you debug.
0 Comments.